Secrets to a Simple Wall Gallery

Secrets to a Simple Wall Gallery

Secrets to a Simple Wall Gallery

A wall gallery can be so much fun. You can use it to showcase images, mementos, quotes and a variety of other things. Personally I love mixing colors, textures, shapes and media types in my galleries but some people like to keep it really simple and go with all the same frame and black and white images or use symmetrical lines and consistent colors. You can find a lot of “rules” to follow when it comes to gallery walls, but to be honest when it comes to mine, I pick what I like, and I put it on the wall.

I am going to show you my simple way to set up a gallery wall and get it onto the wall in less than an hour. I had a little help from a friend for mine so that we could tape things up and so I could get some pictures of me in action, but really this could be done solo pretty easily!

Here’s what you need:

A large roll of paper (Kraft, white, the backside of wrapping paper….I love using what you’ve got!)

Painters Tape (you can use masking tape as well, just be careful not to pull paint off the wall)

Pencil

Picture Hanging Kit

Measuring tape

Photo corner bumpers

Take your roll of paper and measure out how large of a space you would like to cover with your gallery wall…plus at least a few inches on either side. I am not big on being super specific, I want it to be fun so I eyeballed this one because I had a pretty big space to use, but if you want it centered above something, or in a small space I would measure a bit more precisely. Tape together pieces of Kraft paper if you need a bigger canvas to work with, and then secure it to the floor with a couple of pieces of tape.

Start placing your gallery pieces on the paper how you think they will work together. Move them around, try different spaces. If you need some inspiration we have pinned a few that we liked. I don’t need my galleries to be symmetrical but I have helped clients who did, and that’s definitely doable as well.

I see a lot of people pinning how to do a gallery wall the right way with individual pieces of Kraft paper. I haven’t tried that method, but so far this one has worked for me so I am going to stick with it.

Back to it…. place your gallery images on the Kraft paper and see what you like. Step back and look at different angles and try a few things before you settle on what you want. If symmetry is important to you or if you are going to lose sleep over having one image 3 inches apart and others 4 inches, then measure your spacing while you have them on the paper.

Next, trace the edges of your gallery pieces with a pencil, as true and accurate to size as possible.

Then one by one remove an image from the paper, flip it over and measure to the point where the image will be hung. If it is a single hook measure to the middle of the hook from the side, and the top of the hook from the top. Then measure this same distance and mark it with a small “X” on your paper. Repeat for all other gallery images.

Once you have done this to each image, you can un-tape your paper from the floor and take it to the wall where you will be putting your gallery and simply tape it in position. You’ll want to measure the middle of the paper and make sure it lines up with the middle of the gallery area on your wall, and make sure that the paper is level with the ceiling (in doing this multiple times I have learned that many ceilings are actually not perfectly straight at the meeting of the wall, but do your best)

Carefully nail your hanging pieces into the “x”‘s on your paper. A single nail or a hanging doo-hickey (yup, that’s the right word…I’m sure of it :)) and then carefully pull the paper off the wall.

Hang your images on their nails or doo-hickeys.

Make ’em straight and keep them that way by attaching little photo bumpers to the bottom corners of your images!

VOILA! Pretty wall gallery for you! (or super macho wall gallery if that’s what you’re going for!)

create a gallery wall | Halifax Blogger
encourage inspire gallery wall
heather crosby gionet xoxo
Addy’s Under the Sea Birthday Party | Parties and Pretty Things

Addy’s Under the Sea Birthday Party | Parties and Pretty Things

Addy’s “Mermaid Theme” Birthday

mermaid under the sea birthday party

When it comes to birthdays I often go a little overboard. And when it comes to balloons, the same thing happens. So with balloons and birthdays….it ends up being a LOT of birthday and a LOT of balloons. This birthday though, was by far the most balloons. Addy’s third birthday when we did a balloon drop had a lot as well….but we blew those all up the old fashioned way. This time we got an AIR balloon blower from GLOW, which was an upgrade from even the hand pump I had purchased a few months ago! Basically I am balloon obsessed. Alex says that there is a rubber tree crying somewhere…even though I am not sure where latex comes from, I may have to check that out once I have internet again!

ANYWAY let’s get to how the whole thing came to be. Addy LOVES the water. She’s a fish (just like her mama, brother and Aunt Sally!) and I loved some water themed birthday pins that I had found on Pinterest. So it was done. I did the facebook invite for Addy’s party and mentioned it would be mermaid themed. I was wrong. In the end other than that mermaids theoretically live in the ocean, there was nothing really mermaid related…. but it was fun!

I worked with GLOW the Event Store to create a focal feature for the party. Once again I opted for a dessert table; they are my favorite to do, and they offer so many options for display and colour!

I TRIED to make an ombre ruffle mermaid cake (ah yes, this was the mermaid detail I added last minute by painting a tail and sticking it into the cake!) At the suggestion of my friend Jenn at Layers, I got a turntable for the cake and a ruffle piping tip. I watched three or four tutorials on you tube and went to work. But well, apparently watching a video doesn’t make you a pro. I kind of got the hang of it but by the time I did, the icing in the bag was too warm and got all droopy. SO I just smoothed the ombre all the way around. I still think it was pretty cute, though the icing got REALLY dark overnight. Is that normal with the Wilton icings? Anywhooo no one would have probably ever known that this wasn’t the cake I intended, but I’m all about being honest, and letting you know that not everything goes perfectly in planning these parties, but I am getting a bit better at letting it go and going with the flow.

Oh and I also forgot to put icing between the layers of the cake!

When I was pinning ideas for the party (you can see what I pinned here) I kept coming across this balloon tunnel, and I just had to figure out how to do it, or something like it. The balloon artists at the Event Store were able to give lots of guidance and direction on what type of balloons, how I could connect them, how what I saw was likely put together etc. If I had given them the right measurements it would have been pretty much perfect the first night, but since I made a boo boo I had to get another fifty or so balloons the next morning. (NOTE: doing this the night before the party was a great idea, but the dollar store masking tape did NOT do the trick, so when we woke up the next morning ALL the balloons were on the floor! EEEK!!!! Dollarama is fun for a lot of things, but I do not recommend their tape!)

I needed to go to the Event Store to pick up the helium balloons (aren’t the balloon octopuses amazing!!!) so grabbing another bunch of balloons wasn’t a problem!

I also picked up a few more props to fill the treasure chest, and Finn was very excited to have a new sword out of the deal!) We rounded out the treasure chest with toy pearls, some curtains to look like sand and a scarf to look like seaweed, candle holders, costume jewelry and favours including the little candy fishbowls and gold chocolate coins.

I tried to do all themed food and drinks with fun seaworthy names, like carrot crabs legs and grapes on a stick as seaweed. Bulk barn was a great spot to get themed candies and the mix to make our ocean punch. I froze Sweedish Fish into ice cubes so they would float and made some little labels to match the theme.

I made hot dog octopuses which were a huge hit. I cut them all the night before and then boiled them at the party so they were fresh (does having a fresh hot dog really matter?) and papa made some amazing mac and cheese but with shell pasta. Not a spoonful was left!

My biggest #fail was the attempt at creating a giant jellyfish out of iridescent beads/fabric and an umbrella. I actually injured myself twice and it still didn’t look great! I thought that it would bring the theme into the living room, and though it was understood to be a jellyfish by many, it certainly did’t have the wow factor I had hoped for. If I hadn’t decided to make a balloon tunnel then I would have worked on it some more, but I had to let that one slide as well! (you win some you lose some right!!!??)

The blue fabric and iridescent backdrop was simple to put up and had a huge impact, and the pop of the gold balloon was a huge win! It was Addy’s favorite, partially because it was pretty but mostly I think because she was SO excited to be turning five!

(though I did almost have an anxiety attack the other day because I couldn’t flatten pizza dough. I do not say that lightly, I have been battling anxiety the last few years and for real, panic set in on this…)

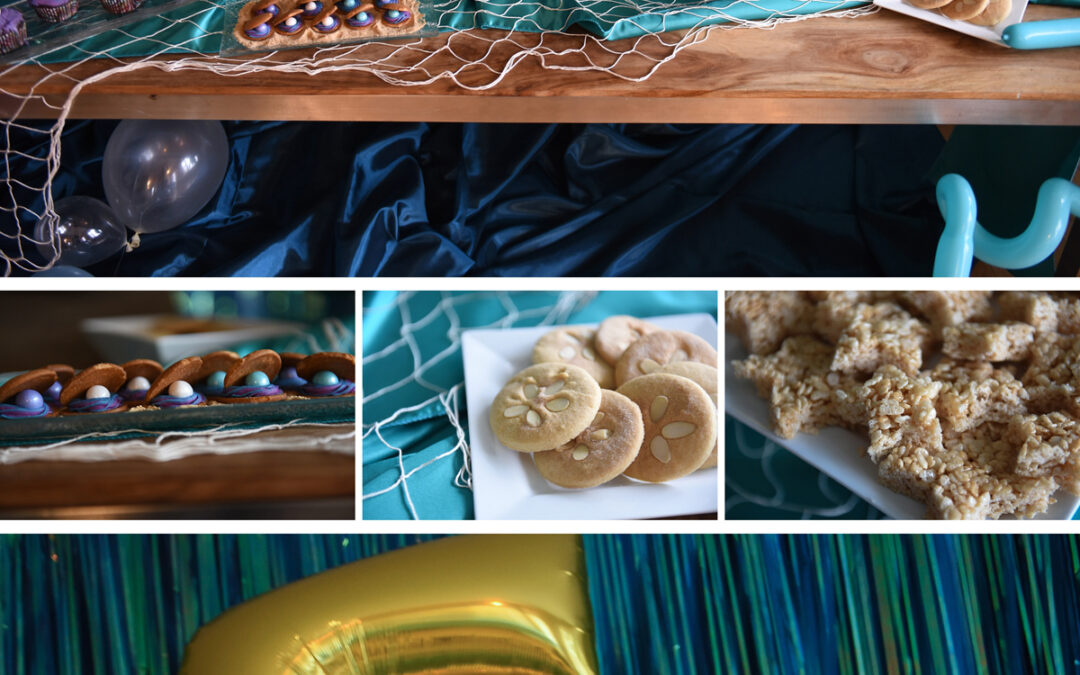
The dessert table was completed with cupcakes decorated as turtles and simple “sand” and icing. Little oyster shells with pearl candies, sand dollar cookies (I think these were my favorite)

I don’t know where she gets it, but my Addy girl loves to play hostess. It was her birthday but she wanted to pass out plates to everyone,  made sure everyone got some supper, made sure every grown up got to come to her room and see everyone play in the balloon pile after the balloon wall was demolished. She wanted to put her own candles on the cake and then pass cake out to everyone who wanted it before she had any cake of her own!

I want to say its just because she is so darn sweet, but I know that she also loves to be in control!

And what is a party without the people? We are so happy that so many people we love could come out to celebrate with us!


Thank you to Glow the Party Store for helping out with the tunnel balloons, octopus balloon characters, giant “5” gold helium balloon, draping iridescent gems, treasure chest, pipe and drape, blue curtain backdrop and iridescent overlay, blue tablecloth runners and netting, treasure chest, sword and pirate “shooter” (so far we don’t use the word gun in our house!) and matching plates, napkins and cups (they have a huge array of colours!!!)

Michaels : seafoam glass cake plate

Papa: awesome shells and cheese

Dollarama : White square plates, “fishbowl” favour jars

Bulk Barn : theme coloured candies

Pinterest : Inspiration

New Years Party Time

New Years Party Time

New Years Party Time

I know New Years Eve is TOMORROW (yikes!) But I promise you that you can put together a fun little table set up in 5 simple sets.

  1. Pick up the new Year’s Eve “must haves” like party hats, noisemakers and poppers. I got all of my goods at Glow, and they had really fun Kits that had enough for 5-10 people all in one box for $20 (there were a bunch of options!) One of my favorite things to decorate with were the container full of gold, black, silver and white “mardi gras” style beads. They were great on the backs of the chairs, on the table, hanging from goblets and filling a vase for a centrepiece.
  2. Rent/Buy/Use a tablecloth and some chair covers, placemats or charger plates. If you don’t know why I think renting a few things is great you can check out the post here! Pick a simple centrepiece (I used a feather ball on top of a vase filled with beads!)
  3. Repurpose things that you have in your house! I used vases and crystal goblets & champagne flutes that I already had, as well as photo booth props (not shown) and candles. I love candles!
  4. Get inspiration from blogs, Pinterest etc but then make it your own! What I love about party decor is it’s not as precise as some things so you can have a lot of fun with it!
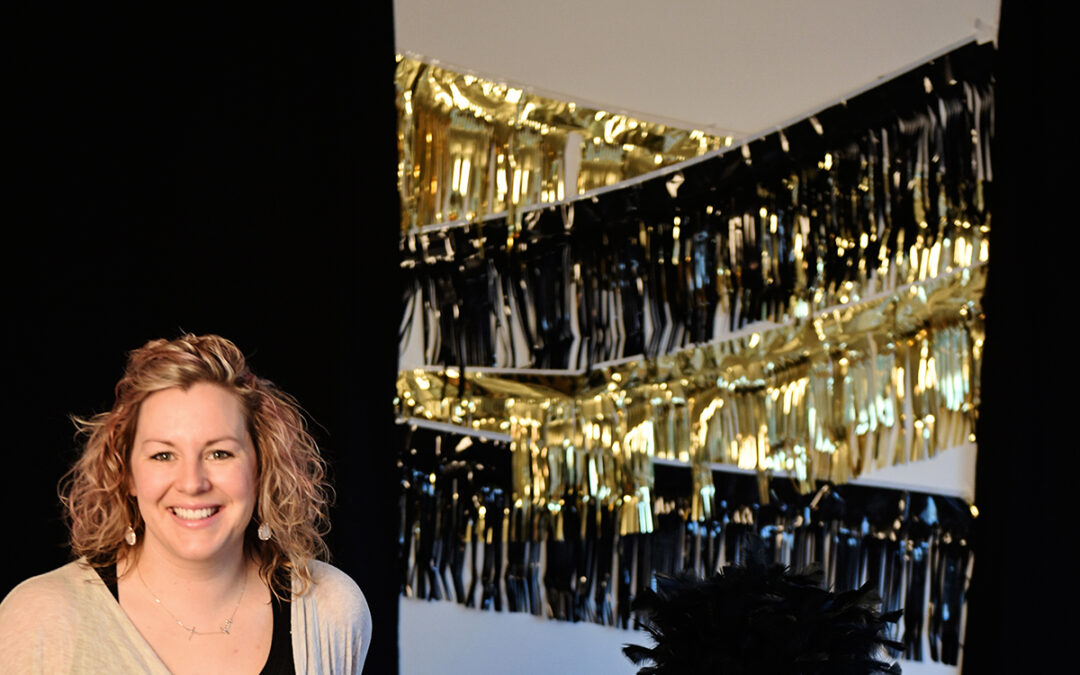
  5. Make a statement wall/piece that can second as a photo area later on!  You can use Christmas lights, balloons, fun fringe like me, a banner…whatever you’re feeling.

Layer it all together and VOILA! I am a big fan of a full table.

Quick Tip: There are so many Christmas decorations on sale right now that are black and gold, like 70% off on sale at Michaels!

Fun Fact : Paper plates still look fancy if you use a charger plate, and then you don’t have to wash dishes after the party. And it’s New Year’s Eve, let’s be real, you don’t want to clean when everyone leaves!

I truly hope that you have an AMAZING night tomorrow and that your 2017 if full of all the good things you want it to be!

I can’t wait to eat Chinese with friends and celebrate!!!

Winter Wonderland – A Simple White Table

Winter Wonderland – A Simple White Table

I don’t know about you, but I have been loving simplicity lately. I have enjoyed weekends at home with my family (although I have to admit that I go a little bit batty when I’ve been home for more than a day at a time), a tidy home, a calmer schedule and a paired down wardrobe. Simple is just nice for me right now.

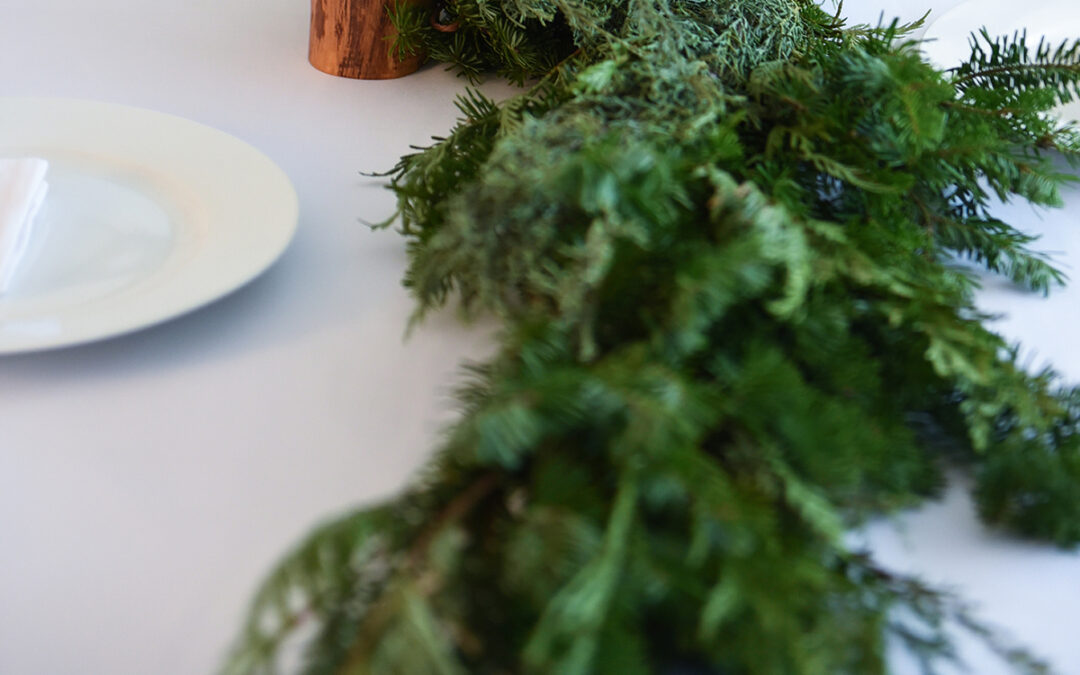
As I watch the snow floating (blowing) by our windows I thought it would be a perfect time to post this beautifully simple table. There is something that just calms the world when it is covered in a white blanket of freshly fallen snow. I am always amazed by what a quality tablecloth and chair covers can do. I love the simple cleanness of the look.

I wanted to show how you could take many of the same main elements as in our rustic look (simple wreathes and garlands) to see what an impact adding the white tablecloth and chair covers made. I loved that simple table but I wanted to take it up another notch by adding some glittery elements! A little crystal on the garland, in martini glasses, and the charger plates made the white go glam! And I stand by the hand lettered place cards! They make everyone feel so special! I actually went to a party the other night and they had signs and bar menus made by Amy, and it added such an amazing element to the evening! Top Notch ladies!!

Now that the kiddos are getting bigger it’s more difficult to fit them at the adult table, and well…white linen just seems like a bad idea when it comes to littles so I thought they would appreciate a cute little set up all of their own! Most people have a coffee table that is a good height for children, and glow has little ottomans with lots if covers available that were just about the perfect size. I used snowflake decorations as the charger plate and then two colored plates stacked (another cute little touch that added another visual element) and then used a little silver pine-cone to finish the look.

Credits

Photography by : This is Photography

Super cute hand lettered place cards : Calligraphy by Amy

All greenery : Twig & Twine Floristry

Glow for White Tables :

Crystal Garland

White Swag Chair Covers

White Poly Tablecloth

White Matte Satin Napkins

Silver Rhinestone Charger Plates

Glow for the Children’s Table :

Red Ottomans

Silver Snowflake Decoration

White & Red Plastic Plates from our Solids Collection

Red Plastic Cutlery from our Solids Collection

Red/White Paper Straws

Silver Pine-cones

Table : Wicker Emporium

Chairs: Ikea

Always Time for Tea – A Collaborative Outdoor Tea Party

Always Time for Tea – A Collaborative Outdoor Tea Party

You may have guessed by the title, but we had a tea party! The last one I had was a baby shower for my beautiful friend Naphtali something like 4 years ago and I was itching for another, and who better to do that with than friends who love to create pretty things!

I absolutely adore the gals at Duly Noted. I love the little shop too. (Well I guess it’s not so little now, they recently moved!)  It’s a great little shop in Halifax with stationary and pens and other lovely local find!  You should check them out at their new location on Doyle Street in Halifax!

Rebecca rocks invitation and graphic design at Duly but also has her own beautiful line of cards called Paper Chain and does design work of her own!  Lisa consults with all the couples (or families etc) on what they’re looking for in invitations and is so artistically talented it’s incredible. She used to be an art teacher and currently launched a website for her beautiful calligraphy work!

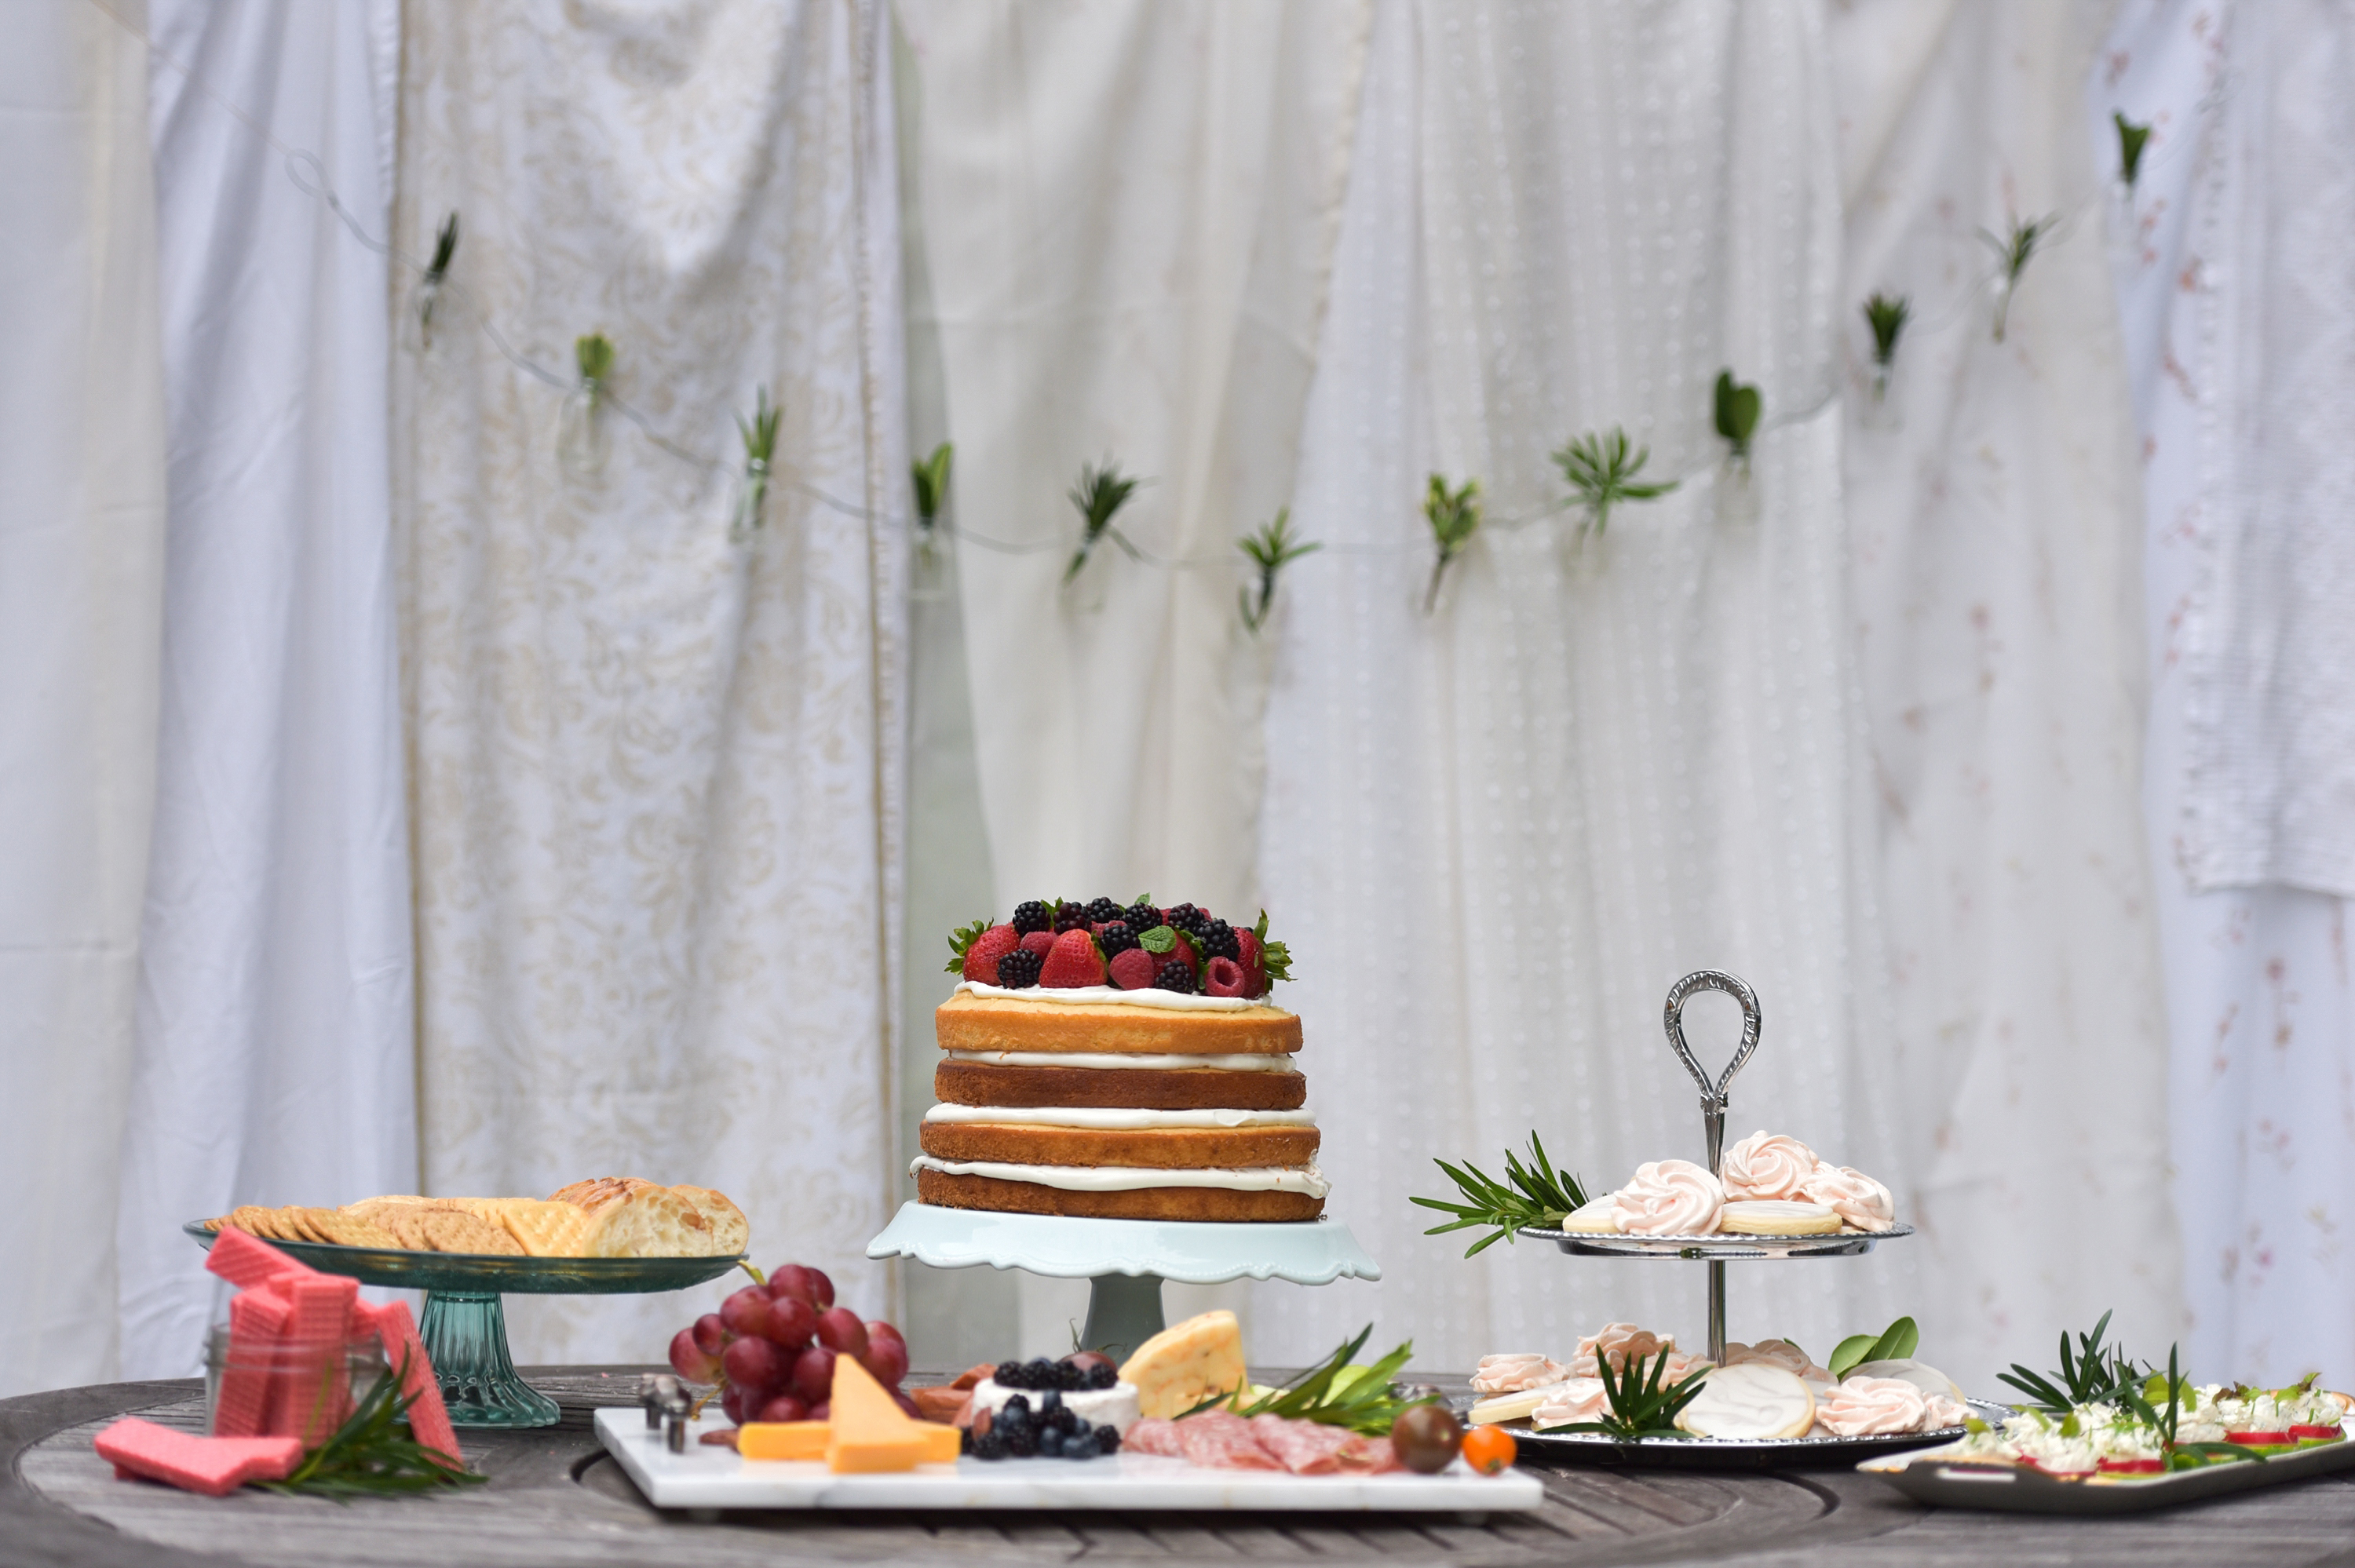
This summer…well September…we joined forces to set up a special outdoor tea party! We all used our skills and contributed treats to a tasty tea! Rebecca made the baked goods and beautiful naked cake, her amazing neighbor volunteered her backyard and we carted almost all of the contents of Rebecca’s apartment across the road and up the hill to create the outdoor design. Lisa made cucumber canapés and beautiful calligraphy pieces. I brought the fixings for a charcuterie board and sparkling lemonade to round out the feast.

I just have to say, it’s pretty awesome to find like minded people who enjoy the same things that you do. And if you don’t have those people in your life yet, I recommend trying it out! I know it sounds silly, but putting it out there and trying to connect with people in a new way, it doesn’t always work out the way that you wanted, but it is certainly worth it when you make a connection and find common ground! (If you didn’t catch that ladies…I am thankful for you!)

We brought a collection of furniture, blankets, pillows, candles, linens, and other “odds and sods” in laundry baskets and Rubbermaid totes over to the neighbor’s backyard. I think that we must have taken at least twenty trips for set up and another twenty for tear down… but  I didn’t actually count! The first thing we did was set up our blankets and tables. Using a variety of Rebecca’s books we propped up the tables to make them flat (or so we thought… the falling candlesticks all day may have proved us wrong on that) to provide our low table so we could sit on the ground in our sea of pretty pillows.

We used the clothesline to hang a variety of sheets, curtains and tablecloths to create a kind of boho background and added a little glass jar banner from Rebecca’s. Lisa cut some greenery from The Flower Shop and gingerly placed them in the jars. It was glorious to push the clothesline and have the flowing linens become the backdrop for our table. ***swoon***

We placed the beautiful centerpiece in the middle of the large square table we created and then set up dainty table settings using Rebecca’s china (she is the tea party master and has all the essentials). We also used my mom’s crystal glasses to have sparkling lemonade and berries, a simple touch that added some glam to the glasses! We brought over the food. grabbed a couple of photographs and sat down together to enjoy the spoils of our hard work. The ONLY downside to this endeavor was the swarm of wasps who were eager to be close to all the sweets, and Addy who had recently been stung being extremely scared and screaming every thirty seconds or so. Thank you ladies for having tea with me, and thank you for being amazing and letting my Addy girl join in!

I’ll share some tripod taken photos of us girls enjoying our tea but for now I hope you enjoy the beautiful set up we put together!


Halifax Flowers Tea Party

Come. Let us have some tea and continue to talk about happy things.

Chaim Potok